Our kids have quite often different opinions about kids' tv programs; what is boring, what is scary, what is just plain stupid etc. However, there are few programs that they both agree on, one is Richard Scarry's Busy Town (at least for now). It isn't flashy and polished like the new computer made animations, the atmosphere is calm and friendly and even I knew the characters as a kid! It's always nice when they like something just because it is fun, not because it is something that everyone likes right now (and forgets when new characters are introduced by the toy factories).
We have Best Make-It book Ever! by Richard Scarry. It includes all kinds of crafts; you can cut out the characters and buildings from Busy town, both instructions and ready cut outs to make finger dolls, calendar, cards... It is thick book with plenty to do. I bought it last summer to have something to do at the summer cottage if it rains and it has turned out to be great fun. There is still plenty to do.
I was browsing through it with our son one day and we read a story from that book about Lowly Worm and it ended with words "now go and make your own Lowly Worm!". The book had patterns and instructions to make your own plushie. The book told to ask help from someone who can sew and find the fabrics from your mum's fabric scrap box. Since there is no shortage in either, we started the project.
Lowly Worm is pretty easy to do and I won't publish here full instructions nor the patterns as I think they are copyright protected. Anyway, it isn't hard to figure out just by looking at the pictures.
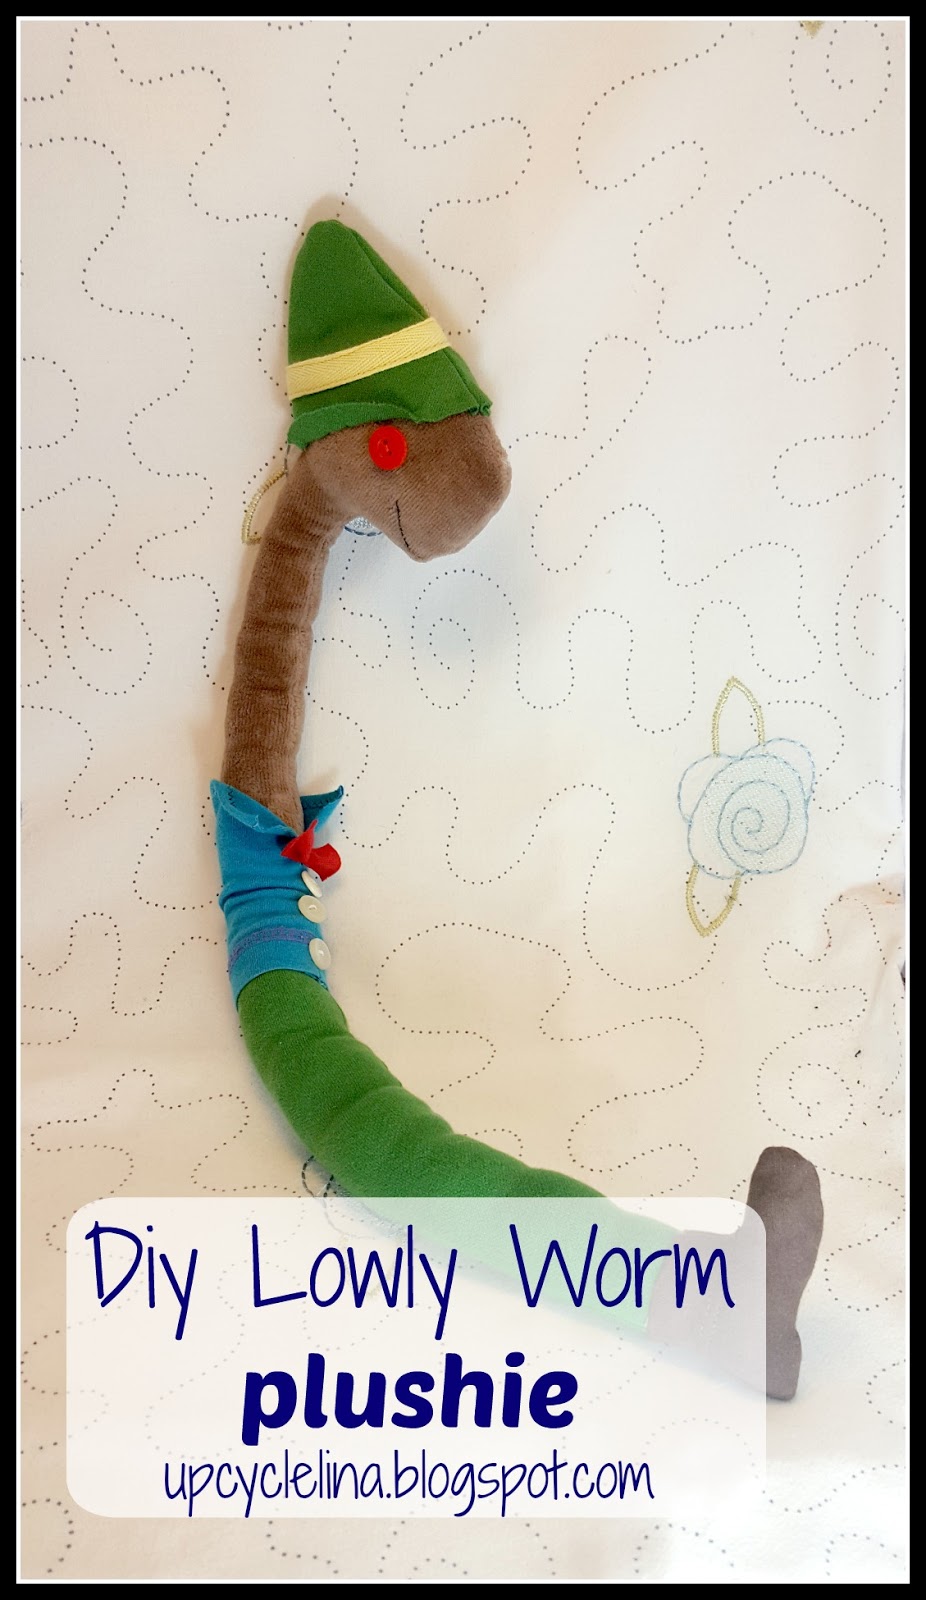
The worm itself is made out of two parts; the one with the brown fabric making head and body and the green making the pants. The hat, coat and shoe are separate parts.

The book advised to use felt, understandable as it's very easy to use but I used what was in the scrap fabric box and took fabric out of couple old t-shirts. The original advice was to cut the eyes out of white and black felt and glue them on but I didn't want to use glue. I had a feeling that the plushie would end up being carried everywhere and played with a lot so the glued eyes would come off eventually. I used buttons instead and our son chose the red ones. I would have used black ones as it looks a bit demonic now but he is happy with it. The hat has yellow ribbon sewn on it and it is attached with few hand stitches. I attached the hat and the eyes as well as embroidered the mouth once the plushie was otherwise ready.

The coat is made out of a sleeve of a t-shirt and of course I took use of the finished edge! The top edge I sew with zig zag. The bow is just a piece of red fabric with raw edges and attached with couple hand stitches.

The original instructions didn't mention about filling the shoe at all but I thought it is nicer this way. I filled the shoe with the smallest fabric scraps so it is a bit harder than with other padding. I used the ready finished edge here too.
Making Lowly Worm didn't take much time, was very easy and our son is very happy with it. What could be better? Oh, and it used at least some of my fabric scraps, always good too!
No comments:
Post a Comment