Tuesday 23 August 2016

Upcycling related observations from the summer


The leaves are turning yellow so it must be autumn and I think it is safe to write about our summer as it seems to be over. Not that the weather is any different, anyone who has been reading my blog knows that this summer it has been raining most of the time. I have been "complaining" about it so I looked for some facts so you can see it isn't only my imagination:

June

67mm rain altogether, days that it rained 18, not pure rain every day but cloudy and expected rain on those days for sure

July

109mm rain altogether, days that it rained 20

So... not just my imagination I can say. And what is "fun" is that the weather station is about 20min drive from us and our little village is higher from the sea level so it rains here more and more often than it does on lower grounds.

It's hard to imagine from this point of view that there are countries that really struggle with having enough water. Here is plenty in thousands of lake and of course it also rains more as the climate is cooler. The water that is used is always cleaned properly and used again. Though of course weather like this isn't normal, it is supposed to be warm in summer, cold in winter so it is more or less caused by the climate getting warmer overall.

Anyway, to our summer. We visited our little summer cottage in my home village, picture here, fished, barbecued, had sauna etc. The cottage is as completely off the grid as anything can be. No electricity, no running water (unless you run with the bucket filled with water - hah). Little gas stove, composting toilet, small solar panel to produce enough electricity for the lights and charging the phones. Internet though is everywhere nowadays. While visiting my home village they had the summer event they have every year and for that summer event someone had decided to make art out of plastic chairs:


And one of my relatives had re-used some of the doilies her mum had made:


Great use if you don't need the doilies - or like her case, have too many of them and don't quite need them all. Pretty like this too.

My other relative had invented great temporary serving table for summer party:


Talk about re-using things! The couch is in the kitchen also on other times but for the party an old table top was put on it. It was solid, big enough and not on your way when you don't need it, perfect!

On a sunny day we went for swimming on my uncle's house and I found these wild raspberries:


They were huge! And so perfect. Our kids ate all of them I think, I just managed to steal these to take a picture - and then they ate those too. Who can resist wild raspberries?

We also visited other cottage in East Finland, located next to Saimaa, one of the biggest lakes in Finland. Also, another off the grid cottage in middle of a forest, next to a lake - everything that a Finn can ask for their summer cottage! I think that it sounds quite crazy when I say that yes, we like to go to a place where there is no running water, no tv, wc (only composting toilet outside) and the electricity the solar panel produces is just enough for the lights and charging the phones, and call that a dream holiday? But it is! Simple life, simple pleasures such as fishing, barbecuing, fishing, sauna, barbecue and some more fishing and sauna. Maybe picking up some wild mushrooms sometimes, go swimming, picking up wild berries and go to sauna. The news you read seem to come from far, far away from where you are standing. Oh, and no people other than your family. It isn't a place where someone would just walk by and if you see someone, they are usually in a boat far enough not to disturb you. If you want to meat people, you have to jump in your car and drive to a village close by.

Solar panel placed on a stone in lake to catch as much light as possible:


The toilet:


The summer cottage is also ideal place to eat real near food, so fresh that it can't get any fresher and you definitely know where it came from. Last year we got some very big perches, I think the biggest perch was something like 400g. This year we didn't see anything that big but some descent size (100-200g) and some smaller ones that we decided to eat too:


Perch filet dipped in rye flour and salt mix, cooked on a pan with lots of butter. Not bad, especially when the sauce was made out of fresh chanterelle:


Too bad I didn't take a picture of the plate. With the perch, the sauce and new potatoes from relatives' own vegetable patch it would have been a real example of a whole near food meal! So no luxuries, just 5 star dish...?

With the perch also these animals live in the lake of Saimaa:


I believe it is called Saimaa ringed seal in English (Pusa hispida saimensis), subspecies of ringed seal and lives only in Saimaa. The seal was left in the lake after ice age as its route to the sea was cut when the land rose enough. After that it adjusted to live in a lake instead of a sea and Saimaa is only lake where they live so it is very endangered nowadays. Of course there is protection and I think the seals' situation now isn't as catastrophic as it was some years back. At 1980 there were only about 150 seals and last year 320 so the way is up but it only needs one epidemic and they are gone. If you are wondering the grass, our kids wanted to give the statue something to eat...

On a place like this you really are in the nature and can see the effects of our actions quite easily. You also think more what you are throwing away as the trash bin isn't just in front of your house and realize the meaning of a clean drinking water as you have to carry it from somewhere where there is plumbing. It would be very environment friendly way to live if it wasn't for...


Plastic cups. Plastic cutlery. Paper plates. The paper plates aren't that bad, the forest that is used to make them grows back (and produced quite a lot of oxygen while growing) and they can be burned. But the plastic dishes you use only once and you throw them away. The plastic doesn't melt away, disappear in the air or compost. It just breaks into smaller and smaller pieces until the tiny particles are everywhere. Luckily they have started to burn our trashes so that means easily less plastic in the nature! Anyway, the simple life without plumbing and electricity means - no dishwasher! No one is fond of doing the dishes, I'm not an exception, especially with everything else and two kids you "need" a short cut if you want to actually relax and the plastic dishes really offer you that. We were on the cottage with my in-laws so it was quite a group and that means plenty of dishes. Of course we did the dishes on turns but had I suggested that we should only use the real cutlery and cups, I might have been doing the dishes more or less alone... 

To the point. If you can't recycle, then at least reduce and re-use! I wrote our names to the plastic cups, it really is silly to throw away that environment violation just because you drank water from it once. With the names we could at least re-use the cups easily saving easily tens of cups altogether.

Then of course everything that can be composted, is composted. The less you have to carry away from the cottage, the better. But... do you know the feeling that when you take something for granted and then you talk to someone and realize they don't think the same way? At the cottage I realized there were two plastic bags in trash bins - one for the real trash, other for compost! There was plastic bag for the compost so that the bin wouldn't need washing! The bag was emptied in the compost and the bag itself was thrown to the trash bin. Seriously? 

We were lucky, the whole week was sunny and warm, kids were able to swim, I even went swimming couple times, first time this summer! Back at home it was back to the usual raining. Our kids can invent their own plays easily so the rainy days aren't as catastrophic as I know they are in some families, kids climbing on the walls and things like that. Ours have been playing with legos, legos and legos! If I hate plastic overall, especially when it is used only once, I adore legos. They are great to build your imagination, learn to follow guides (when building with a guide) and to see what you build, how everything goes together, what works etc. And the play is always new! The plastic in these cubes is certainly on right place and they last almost forever. Our kids have a box of my old legos, about 30 years old and couple pieces that were my mothers! Daughter is especially good at building with them as she the older one and once she made a phone:


They got couple new packages during the summer as on one rainy day we went to toy store with their saved money and they could choose a package for each, something they could afford. Our daughter chose Lego friends Supermarket and the sign on the phone is from the shop, first the supermarket was built as it was supposed to but then she decided to turn it into something else.

I also had a birthday and I invited some relatives to visit. It is good to have a birthday between summer and autumn, very easy to bake something. I baked brita cake (cake, meringue, whipped cream and raspberries) and chanderelle pie. So delicious, easy and cheap at this time of the year. Appeals to my frugal nature...


Then couple funny shots without any other point:


Some strong spider web! It looks like the web is keeping the lantern from falling down.


Hails. I had to run and save the basil on a table outside,they don't very much like the cold and even less when hit by hails...

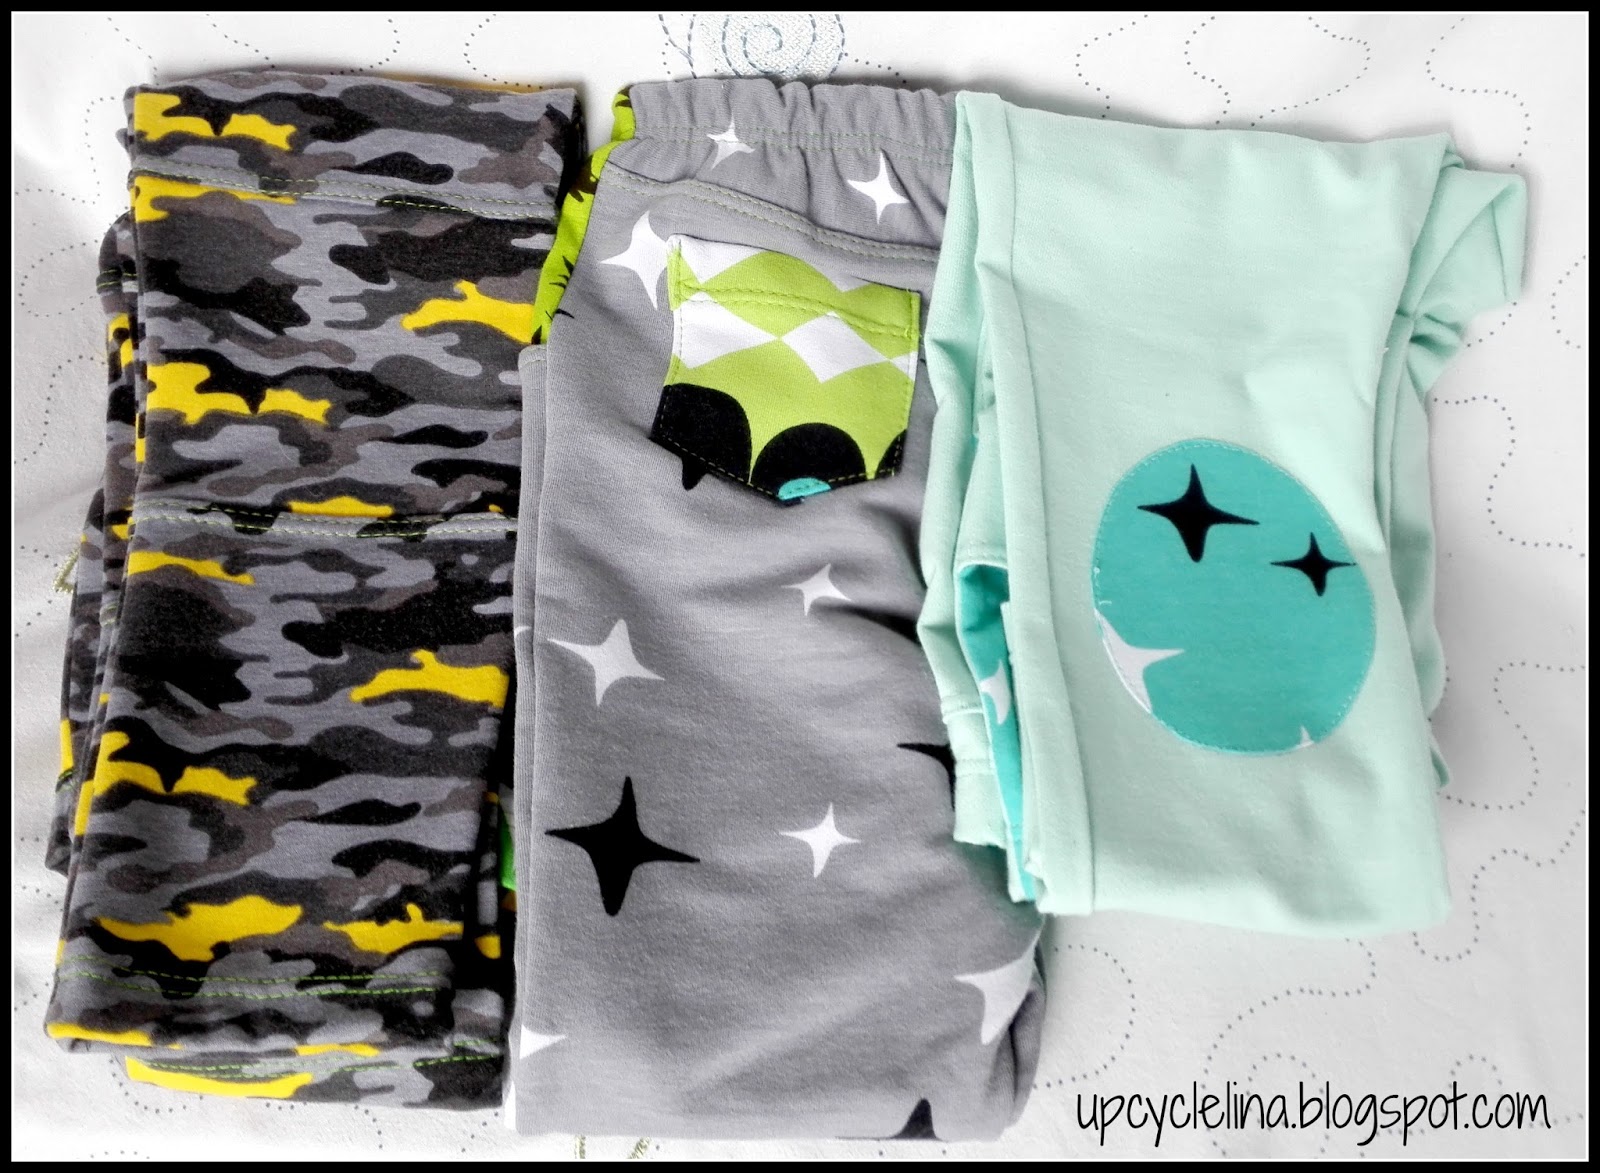
Overall, funny summer and thanks for reading all this rambling! So what's next? So many ideas! I just finished a smallish project and usually I get a feeling "what's next" when I finish something that I have been doing every now and then for days. It is a feeling of being slightly lost. Did I have something in my mind and what was it? After a short moment I start to remember all the ideas I have and then it is just a matter of choosing but it is just that short moment that I feel a bit weird when something is actually complete and I don't have any other projects going on. As for the blog I have planned a post about our trash and recycling system here in Finland and I have a collection of pictures about our this year's harvest. Then I also have taken pictures for new tutorial but that will have to wait a bit.

The summer was full of travelling though, hundreds and hundreds of kilometers. I have to say that preparing for the car trips with these was a good idea:

Travel tray

Dry erase book

Toy bag

What would you like to see here next? Is it too boring to read about things like this or about recycling or harvesting? Which one(s) gets the thumbs up from you or should I just stick to the usual crafting and tutorials?

Thursday 18 August 2016

Travelling with kids part 3 - travel tray

Final part of travelling with kids is travel tray. Super useful during long car trips when the kids can play with their small toys on their laps without them getting lost all the time. It keeps them entertained and happy for a long time, especially together with the toy bag and dry erase book.


First, the idea of travel tray isn't mine and for the pillow I used the tutorial by Two Sisters Crafting. Their tray is bigger and I have to admit it is much more neat than mine! They used new cookie tray that was painted nicely. Apparently from somewhere you can buy cookie sheets for 1$ per piece. Not here though. They would be perfect for crafting purposes for the kids but I highly suspect that you won't get an for a price like that here!

As my last post wasn't anything upcycled but a tutorial about getting best result with twin needle and the one previous that new clothes for my kids, I promised the next post would be something upcycled. This one is through and through. Here is what I used:


One plastic tray that was cut half. Plastic is near impossible to cut by hand and I was wondering how to cut it when my brother happened to visit. He said that our dad has that kind of saw that can cut it nice and neatly. Too bad he tried some other saw first and the plastic broke a bit. It was quite neat though after finished with the correct saw but the halves had some sharp points and I used duct tape to fix that (only thing here that isn't upcycled). Not pretty but it gets the job done and stays on. Why cut it half then? I was asked that and my answer was that it is too big. That's true! I asked for ideas how to cut a tray and I'm asked why I want to cut it? Don't you usually want to cut something that is too big to make it smaller? Yes, the tray was too big to fit on the kids' laps with the toy bags resting on the car tables in front of them. I think it would have been too big even without the car tables so it was better this way. And before you ask, the car tables are fixed on the front seat, they can't really be used for playing or drawing as they are too far away for that and if they were close enough, the kids' feet wouldn't fit.


I got this fabric from a relative of mine with words "do you have any use for this?". I didn't at the time but of course I took it. Since then I have used it to make pockets for advent calendars and couple wizard hats:


The material is felt like and it is from a couch. Can you get anything more upcycled than some fabric that is from old couch when the couch was ripped and thrown away? I don't know what it was used for but it has been very useful after that. Only proves that you should always check and re-check what you are throwing away. It is rather big piece and it didn't cost a single cent, hard to find better deal.

But.. the problem with unknown fabrics is that you don't know what material is it. So, when you try to attach something with bondaweb by ironing it, this might happen:


As usual, I was in a hurry to get these ready so I was pretty annoyed when that happened. Of course, I should have realized to check, so it was just my own fault.


Different fabric scraps and patterns for cutting them.


These formed the bottom pillow. There is no need for the tutorial about that, just look at the Two Sisters Crafting link above. Couple changes though. First, I used oat to fill the pillow, second I added some padding so the oat won't poke through. Oat is from old warm/cold pillows that weren't needed anymore and the outer fabric is from crib padding that I ripped here. Like I said, upcycled through and through.


I cut two rectangulars just like Two Sisters Crafting advised to, the outer fabric bigger than the inner fabric and padding same size as the outer fabric. When you use padding like this, it is good idea to cut out the corners, the padding isn't needed there and it will just make the seam too thick.

Everything went well until I attached the pillow to the tray. I only had one type of glue that I could even think would work and that didn't. The glue stuck to the fabric but not to the plastic. There wasn't anything that would have been more suitable in our household and the shops aren't exactly around the corner so I had to use what I already had. Have you noticed that you really have to get creative when you can't just go to the shop and buy what you want? I think it is actually an advantage not to live next to all shops, I have to find new solutions quite often.

The new solution was this:


Small drill-made holes and yarn worked. It is just a yarn that goes through the holes and below is attached to the pillow with small hand-made stitches:


It was impossible to get the yarn tight but it doesn't matter really, it stays put when used on lap and stays on when carried.


Our kids like to play with small figures and they usually don't need much to trigger their imagination. A pillow or blanket can be mountain, stripes in the carpet a river and so on. They usually invent their own plays also in the car but I wanted to help a bit by making a small play mat for the tray. The pictures are appliqued, the cave was their favourite:


It has been used a lot, fits nicely on their laps and can be played on and they can also use it for drawing in the car. It is one of the best things you can have in a car! Overall I'm happy with it but it needs one improvement; the play mat doesn't stay on. Of course it doesn't, I don't understand how I didn't see it before. The felt-like fabric is quite stiff but there is no preventing that the plastic is slippery. For the next play mat I will sew some velcro on it and self adhesive velcro on the tray. I think we will be using these a lot in the future and they will never get bored as I can make more different play mats!


Monday 8 August 2016

How to sew with twin needle and get the best result


This is a guide to getting better result with twin needle, also known as double needle. I happened to read a blog post about using twin needle because it was recommended by a page on Facebook that I'm following. I checked if there was anything new, but there wasn't, not in that sense. New thing that I learned was that maybe sewing with twin needle isn't as usual as I have learned to think. I checked Pinterest and found several pins about the topic, I read about 10 and only one mentioned briefly why twin needle is such a good thing and none of them mentioned what makes it so. I have at least 5 blog posts waiting to be finished with pictures and everything and I'm writing something unplanned. Why? Because I got so annoyed by the blog post about using twin needle that I just had to. That post included one mistake and the other posts I read had the same mistake. Someone has to correct it.

The needle I'm talking about looks like this:


I have had the education of a seamstress but in our school we rarely used the knit fabrics, they were considered as easy choice. The main focus was in other clothing fabrics, drawing patterns, design your own wardrobe etc. I remember we did one t-shirt with knit fabric, just to know what it is like and I remember one sentence about twin needle by my teacher and that was something like "It is good to use twin needle with knit fabric." Why? That wasn't explained. We only used the school's industrial coverlock (I only now realise how cool that was!) to finish the t-shirts and that was it. It was only after I had kids that the topic came up again. After all, the kids' clothes are usually made with knit fabrics, they are comfortable, they are nice and stretchy so you can move with them freely. I only had that one sentence in my head about using twin needle but couldn't see why I would buy a specific needle to make two stitches next to each other when I can use the regular ones I already have and use zig zag? And now, after all this rambling we get to the point.

The stitch with twin needle stretches. Even if my kids pull their t-shirts over their heads and stuck their elbows under the shirts, they will just stretch and won't break. Of course, you want to check the threads you are using, if they are poor quality or very thin, they will break, no matter what. Zig zag stretches too but the twin stitch gives the shirt whole more professional look.

And now, finally to the guide itself to the secrets of twin needle.

First, choose your needle based on the fabric you are going to sew. Sharp one to woven fabrics, ballpoint for knit fabrics. Believe me, it makes a difference. They are available in different sizes based on the needle size and also the width between the needles. I usually use the one with 4mm width.

Second, you need to have two sewing threads. To change the look you can easily use two different colours for both stitches but if you prefer not to and don't own two of each colour, use your bobbins!


The first tip was found in other blog posts too, but I will include here to keep things simple. Place the threads so that they unwind in the opposite directions; the other one counter-clockwise the other one clockwise.


When threading your sewing machine for twin needle, handle the two threads like they would be one through the last hoop:


This style works for me but if you have a sewing machine with one hoop like me and have problems with your twin needle stitch, try this:


The other thread goes under the hoop,the other one over it. This, like unwinding them to opposite directions, prevents tangling. If you have own hoops for two needles, you don't have this problem.

When you start sewing, make sure your thread tails are long and stay out of the way, better grab them and hold them back for couple stitches. No back stitches! To get the best result, use long stitch. My sewing machines max stitch is 4mm, I use that. Also, be careful with pulling the fabric, too much pulling or too sharp turn and you might just have a broken needle.

The stitch looks like this:


I have four different stitches, each has different settings and they all look the same on the right side. But... on the back side:


Number 1 is sewn using the overall setting of my sewing machine. The needle threat's tension is somewhere in the middle and so is the bobbin. When you see something like this, your first thought probably is that you have to increase the tension of the needle thread, you do that and you get the result of number 2.

Now to the thing that got me so annoyed in the beginning is right here with the picture above. Each and every one of the blog posts I found accepted that the twin needle stitch looks like number 1 on the wrong side. Possibly number 2. Like I said, it is quite brief time that I have been sewing with knit fabrics, but I have used twin needle so much that it has become obvious what it should look like and what the standard is. Standard isn't number 1 or number 2, it hardly is number 3 and number 4 comes close, it isn't perfect but good enough for me.

How did I do it then? You can increase the tension of the needle threat as much as you please but it only gets you to number 2. Take your bobbin out in it's case:


Unscrew the little screw counter clockwise just a millimeter or so and try again. This took me to number 3, if you aren't happy with it, unscrew it a bit more and now you should have something similar as in number 4! And make sure your needle threat has the maximum tension.


My sewing machine is ancient and I suspect the tension isn't as good as it has been some 30 years ago, that's why I accept the number 4 in the picture above but I have seen twin needle stitches that look better than mine so just try it with your sewing machine!

Why am I so mad (because that's what I'm) about this? That's because someone obviously popular had written a post about useful topic, saying it was complete guide and it was spread on popular Facebook page and then it has this serious flaw. But it does look the same on the right side? Yes it does. I can use different colour bobbin thread and don't mind it because it doesn't show to the right side but that's just that, colour. Now we are talking about making a seam that actually lasts. Numbers 1-3 will break if stretched and you have to sew them again. Number 4 stretches nicely and lasts much better.

The twin needle stitch is there because it stretches so don't make it un-stretchy!

When you are finished, don't use back stitch, in worst scenario you will end up breaking your needle or in second worst scenario, get tangled threads.

My way to finish the seam is like this:


I carefully pull the bobbin thread so it pulls the needle thread loops, I pull them through:


Sorry about that, this seam is number 1 but you get the point...

Then I make a knot and use needle to hide the thread ends under the stitch:


Here is also a close up to twin needle stitch that has real zig zag on the wrong side. A stitch like this won't get bulky on the right side either but is nice and flat.

A close up from one of the shirts I made for my kids:


I use twin needle for hemming but also for finishing the neckline.

If you have any questions or something to add I have forgotten, feel free to connect! And as always you can pin my pics, share them on social media any way you wish. And new thing too, you can now follow my blog on Instagram! I share there more than just my blog post pics and you can find my blog as upcyclelina_blog.

Friday 5 August 2016

New clothes for kids

Sometime ago I got this master idea to cut more clothes at the same time so I could just sew them all at one go. But... you won't cut that amount at one go. You won't even sew them at one go, at least not if you have kids and all the other duties in the house. It took actually weeks before they were finished and then with the summer trips couple more weeks to get the photos here to the blog. I first mentioned them here. But here they are, finally!


These are made out of new fabrics but due to my frugal nature I will never throw away a piece of fabric so I used scraps from my scrap fabric box and of course saved everything that was left from these. First couple things I'm proud of:


The top part is new fabric, second class but the mess that made it second class was easy to work around as it was on the bottom edge of the piece. The hem in this is upcycled from old t-shirt! So easy, no need to sew the hem line, just cut, gather to right size and sew together with top part.

Ah, Frozen. My favourite shirt because of the use of the fabric and my daughter's favourite shirt because Frozen:


I had quite big pieces in my scrap fabric box (big pieces for me are something that almost makes part of kids' shirt) that go nicely together and I happened to find interesting looking pattern from Ottobre-magazine where the shirt was already made out of small pieces. My pieces were so small though that I made also the back part from two pieces. We went to our summer cottage for a week and she refused to use nothing else than this shirt - when she wasn't wearing swimming suit.

I rarely buy new fabric, only if it is in good discount or if I really need something. But what I like to buy are the leftover parts from other sewers. Many sewers don't want to use their time to use all the scraps that are left over from other projects and I understand it, it takes time to cut them and especially it takes time to look for matching pieces. But lucky for me, many of them sale them in Facebook groups! I hope more people would do it, I suspect that many pieces like this go to the trash bin when their owners don't think that someone would have use for them. If you do that and are reading this, can you think about offering the scrap fabrics to someone instead of throwing them away? I usually pay something for them (plus the postage) but only when the price is descent, after all, they are just that, scraps, uneven pieces that you don't know for sure if you can finally use them for something or not. I use these scraps a lot and they offer constant source of inspiration. It is almost like upcycling trash! But don't they say that someone's trash is other one's treasure? So true.

Other dress with the same pattern as the first one (modified from a shirt pattern, hem and butterfly sleeves cut without any particular pattern):


For the hem I used a piece of fabric that was already right size in height. I have used usual zig zag to finish the hem and sleeves.


Leggings for my daughter, pattern from Ottobre-magazine with modifications to height and width. Also the original one had only fake pockets, I changed them to real ones because the fake pockets are annoying, they look like pockets but you can't fill them with stones or pine cones or other treasures like that. The real pockets would have worked better with separate waist band though but they will do as it is. The piece with pink pony is also from my scrap fabric box.

I also added knee patches right from the start and the back pockets I made with the same fabric.


Then to my son's clothes. He doesn't very much like Star Wars, Spiderman, Batman or monsters or anything like that. It seems that 4 year old boys should wear only those kind of clothes with the same colours as the adult men do, dark colours, grey and black that is. What if they scare him and he doesn't even know what those creatures are? I also don't think he needs to know just yet. He likes bright colours, cute animals and sometimes cars and tractors will do if they look nice. Try to find those from the shops, it is near impossible if you don't use tens of euros for one piece of clothing. And as I use rather tens of euros for a bag of clothing they are pretty much out of the question. At this moment it is actually cheaper to make clothes that he likes than try to buy them - if you compare to the small companies' expensive clothes. Don't get me wrong, I know exactly why pants or shirt cost 30-40e, they should if the workers get anywhere near descent salary but I just can't simply afford that. Not especially when the time that the clothes fit is so short. The fabric for all the following either with good discount, from other sewers (some kind of second hand fabric) or again from my scrap fabric box.


Cute, friendly tigers and I thought my son would wear it as soon as he sees it. How wrong can I be? He decided that the buttons were disgusting. These:


I have no idea why but he was pretty strict about it. Then one day few days afterwards I simply closed the buttons and offered the shirt and he approved because after all, the friendly cheetahs (yes, he decided they are cheetahs, snow cheetahs actually even though he well knows what tiger looks like...) are cute. Also great picture to show how I want to save also money and time - I used black thread for all three shirts and also to darker pants. Why change it all the time when it doesn't show anywhere? Also saves money when you don't have the threads in all rainbow colours without lessening the quality of the clothes. No one sees it so it harms no one.

One shirt with vehicles:


The vehicle fabric was just a bit too short so I added the sleeves and hem from other fabric. I would have liked to use something else but couldn't find anything that would at least somehow match with turquoise.

And his favourite:


It is colourful, it has cute, smiling animals and all his favourite colours (blue and green). For all the shirts I used one raglan sleeved pattern from one of the Ottobre's (can't remember which one) and just made some modifications for each shirt.

Some leggings for him too:


The two pairs on the right were approved right away, they both have something green in them but the ones on the left... I thought we might have a problem as the fabric definitely isn't the colour/style he likes but I found it cheap from local store and it seems to be quite nice quality and I thought they would do as playground pants. But no. I was told that he doesn't like them, he won't ever wear them and I was forbidden to put the pants to his closet. They say that the girls are picky with their clothes and boys let you wear them anything you like but that most certainly isn't true. I have a very picky 4 year old boy here.

That was quite some work! But I'm happy, I used many different fabrics and thus making my fabric piles at least tiny bit lower and also used many from my scrap fabric boxes, even upcycled a hem from one shirt. Of course they were fun to sew but the cutting - I don't miss that. And now kids have new clothes to wear for pre-school and kindergarten!

Next time, something upcycled! Meanwhile you can check my eight new worry eaters: http://upcyclelina.blogspot.fi/2016/07/more-upcycled-worry-eaters.html or read about our short summer trip: http://upcyclelina.blogspot.fi/2016/07/summer-time.html